Hi, the step 2 will require you a little bit of code.
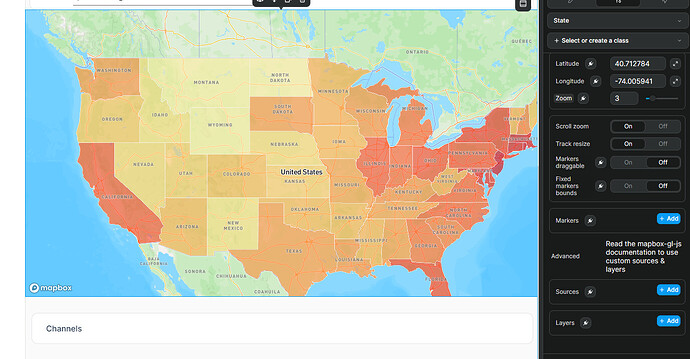
Everything in purple/pink is what is already handled by your map element, everything in green and blue seems to be done through custom code in their demo.
You will have to put yourself two box on absolute position to display the data, like they did. But in WeWeb you’re able to do it in nocode. You will also create variable that will store the data and use them inside your containers to display them.
The blue box is fixed, nothing dynamic, you can create it fully with nocode yourself.
The green box is the one requiring a little bit of javascript to handle the hover and putting the data inside the variables that will then be displayed.
From the documentation, you need to do this on map load.
map.on('mousemove', (event) => {
const states = map.queryRenderedFeatures(event.point, {
layers: ['statedata']
});
document.getElementById('pd').innerHTML = states.length
? `<h3>${states[0].properties.name}</h3><p><strong><em>${states[0].properties.density}</strong> people per square mile</em></p>`
: `<p>Hover over a state!</p>`;
});
Their code is made to update directly the html div, I adapted the code so it update the variable you’re using to display your data instead.
const map = <your-mapbox-instance>
map.on('mousemove', (event) => {
  const states = map.queryRenderedFeatures(event.point, { layers: ['statedata'] });
  wwLib.wwVariable.updateValue('your-var-id', states[0].properties);
});
So, what you can try here is to
- Create a variable (type object) to store the hovered state
- Ciick on your map and add a workflow on map load with a js action
- Put this code inside your action, you will have to replace two part
a. <your-mapbox-instance> by clicking on the mapbox instance on your data
b. <your-var-id> by clicking on the copy ID button on your variable
The state variable should the contain a state with his properties like name and density you will have to display inside your green box 


